The map in the minecraft game is the most important item for orienting in the game world.
Thanks to the map, you can understand where you are and where the necessary buildings, rivers, mountains and biomes are located.
But having made a map, novice players see only a small segment of the area, which shows the nearest trees and rivers.
And many gamers at this moment are wondering if there is such a possibility at all.
The answer is yes, it is possible in minecraft do big map , which can show many kilometers around, and in this article we will describe in detail how to scarf her.

regular card
Before you start make a big map need craft a little with a coverage size of 128 by 128 blocks.
1. First you need to find sugar cane that can be used to make paper. To do this, open the workbench panel and place three reeds in the middle row. In total, you will need eight papers to create a card.

2. Also, to create a map, you need one compass, you can make it from four ingots and one red dust arranged in the following order:

- In the top row, an iron ingot in the middle;
- in the middle row iron ingots on the sides and red dust in the middle.
- In the bottom row as well as in the top.
- In addition, the compass can be bought in the village from the librarian for 10 emeralds.
3. Now you can start creating a map, to make it, open the workbench and place the compass in the center, and eight papers around it.

Having made a map, open it by pressing RMB, the surface of the game world will be automatically outlined on paper.
Large map craft
So, having made a small map, you can proceed to crafting large having a size of 256×256 blocks.
To do this, open the workbench and place the card in the center, and eight papers around it.

As a result, an additional empty space will appear on the map.
To fully draw the map, go to unfilled areas, and the image will appear automatically.
The maximum map has a size of 2048×2048 blocks, this is quite enough to see entire islands and continents.
Now you know, how to make a big map in minecraft. Also, to save paper and effort, you can simply clone (redraw) the map.
To redraw, open the workbench and place the filled card in the middle and the empty one on the side.

By the way, the map can be hung on the wall using a frame.


Minimap for Minecraft - in this section you can download a Minecraft map mod. These are one of the most popular modifications, because without a map in a game with a large open world, it’s like without hands. Here you can choose a mod for the minimap with the functionality that suits you, for example, in addition to the standard functionality that adds a map of the area, you can set marks with any name for faster orientation in the area. There are also more cheating options here with a radar showing nearby mobs, players and rare resources like diamonds and emeralds. Here you will find map mods for all current versions of the game, even for those that came out not long ago. If you fell in love with a particular mod that adds a minimap, but it has not been updated to the version you need, visit more often and as soon as a new one comes out, it will appear on the site. Or, all the same, you should try other modifications that are no less worthy for your assembly.
The question mark is help.
When you select the top button, the user will be transferred to the file hosting service, where this very map is stored.
In this picture, the file has the .rar format. This is an archive format, opened by archivers (see figure).
When you open a .rar file, this will pop up (or another window, depending on the archiver, the article will describe using WinRar as an example).
After that, you need to right-click on the shortcut and then left-click on "File Location".
There should be a folder in the game folder “saves”.
Gotta go there. If there is no such folder in the game folder, you need to create it by clicking the right mouse button.
The name of the folder should be “saves” (without brackets) and nothing else.
In the future, all downloaded and created maps will need to be thrown there.
Having created the folder, you need to return to the archiver (Figure 10) and click on the "Extract" button.
After selecting the path, extraction will begin.
It will last no more than 10 seconds.
After the end of the archiver can be closed.
That's all! You just need to start the game and the map will appear in single player mode.
How to make your own map for Minecraft?
Making your own invention is very simple, but so that the finished map does not get bored quickly, you need to:
- Have a broad imagination. Then the map will be large and it will not be possible to pass it in 3 minutes.
- Have time. On creation big map and it takes a lot of time.
- Pay attention to absolutely every little thing, every pebble and every leaf. Then the map will have fewer "lags" - errors that prevent it from working well (for example, walking - walking along the road and suddenly failed simply because the cube that the character stepped on was not a solid body).
- Good to know English language. Usually, when creating a map, the interface is in English.
First you need to choose the version of the game for which the map will be developed. It is better to choose the game version 1.8 or higher.
After the game, you need to go to the "Creativity" mode and there you need to find the "World Settings".
In translation, this is "Settings To World". There it is necessary DISABLE building generation.
After you need to choose a flat type of world. After that, you can start creating a map.
After choosing a world, you need to choose which game mode the map will be created for.
Survival or adventure (arcade)?
You choose.
Based on the selected mode, you need to consider how many and what items you need to create.
If it's an adventure, then you need to come up with a plot, and to survive you need to have more enemies and less (a little is still needed, otherwise the character will die from exhaustion) food.
Create a map
It is believed that the WorldEdit program, which can be downloaded from this link, will greatly help players in creating a map.
DownloadFirst you can add a lot of blue and white squares - the sky and clouds.
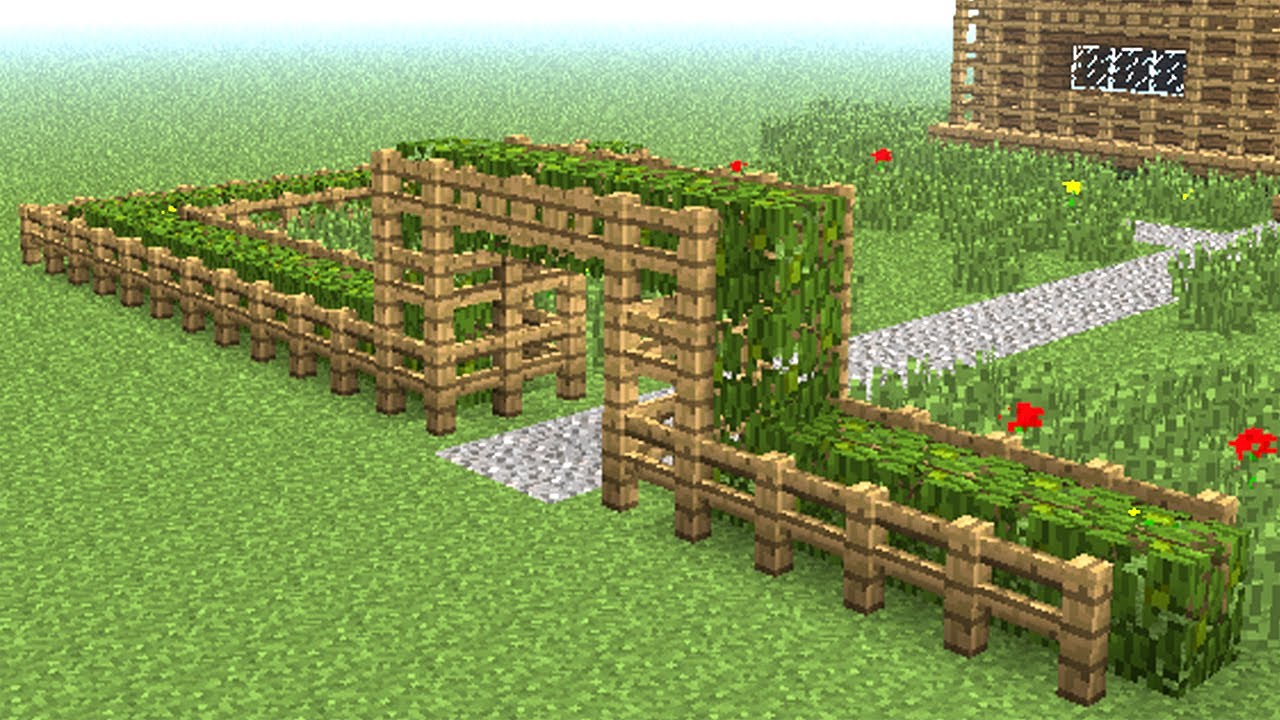
Of course, you need to add path cubes to the village and next to the path brown cubes (wooden fence) along with small houses.
And a couple of other residents. An action must be applied to the inhabitants so that if the player approaches, there is a "Talk" icon.
The residents also need to add the text of the conversation about the kidnapped girl.
Not far from the village, you will need a lot - a lot of green and dark green cubes - trees.
You will also need a few white and black cubes - slugs and spiders. The more cubes, the bigger the object.
If possible, you do not need to draw them - just add them from the animals section (if there is one, of course).
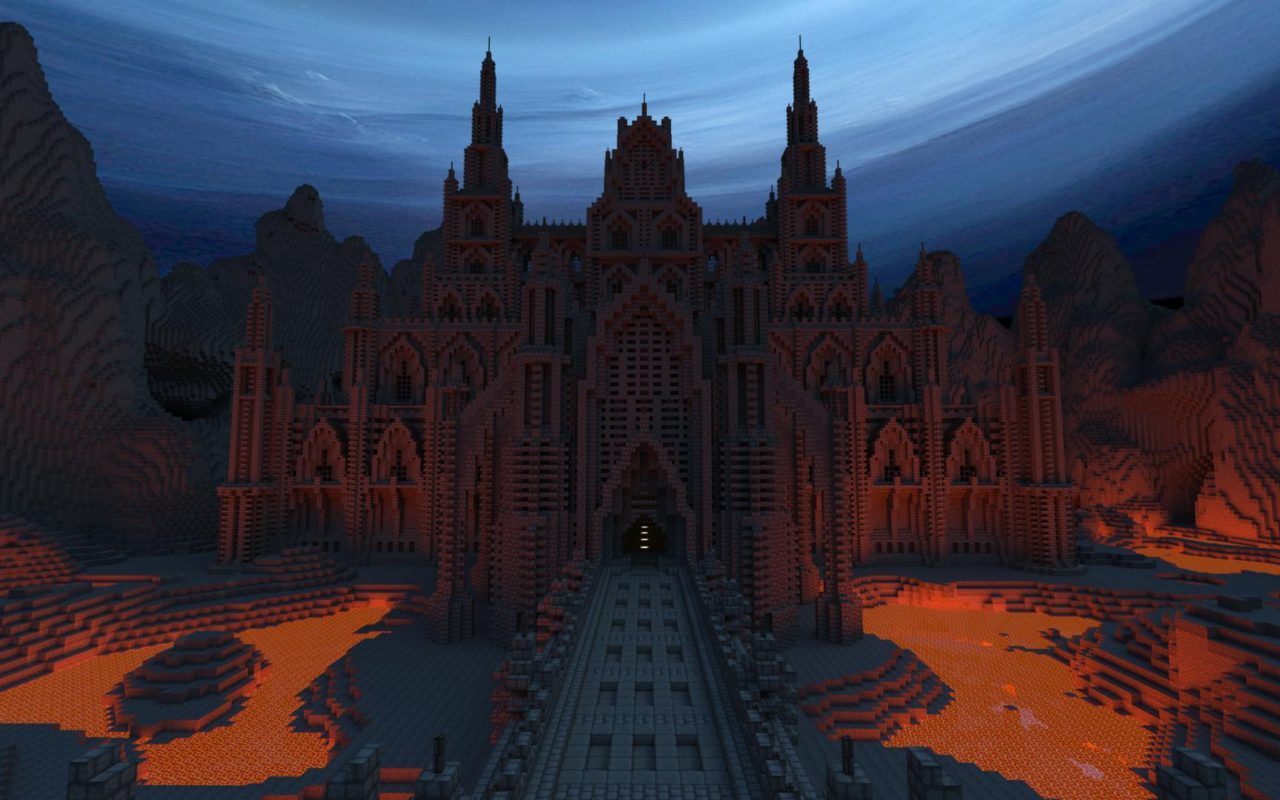
After you need to add a blue river, and subsequently a brown mountain with a white top and some small gray parts of the castle.
Then again the terrain (flat, for every taste).
Drawing a lava moat (red and orange colors), as well as a suspension bridge, will not be difficult.
The most difficult thing will be to draw a large castle and, even worse, a staircase and a room inside it.
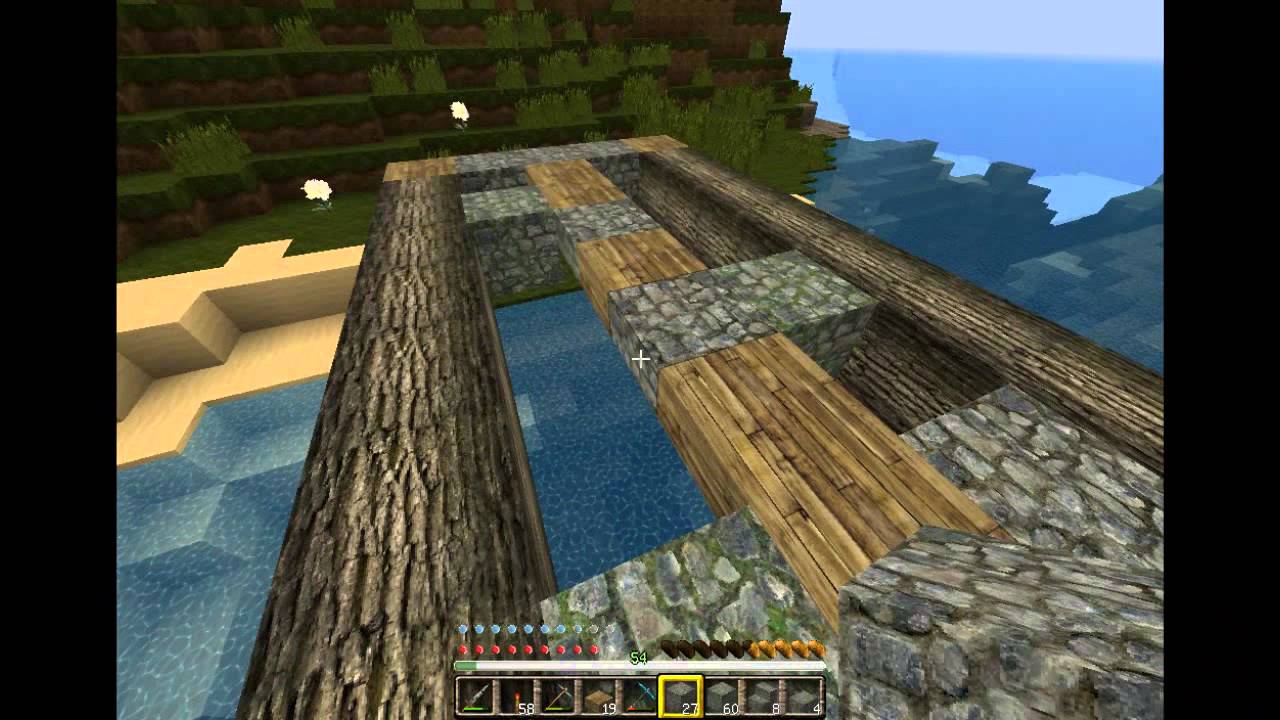
In the picture, the bridge is not wooden, but stone (gray cubes) and leads directly through the lava lake directly to the entrance.
You can draw something like this, but the castle must be brick or stone.
After that, you need to add an invisible (until the opening of the cell) portal at the end.
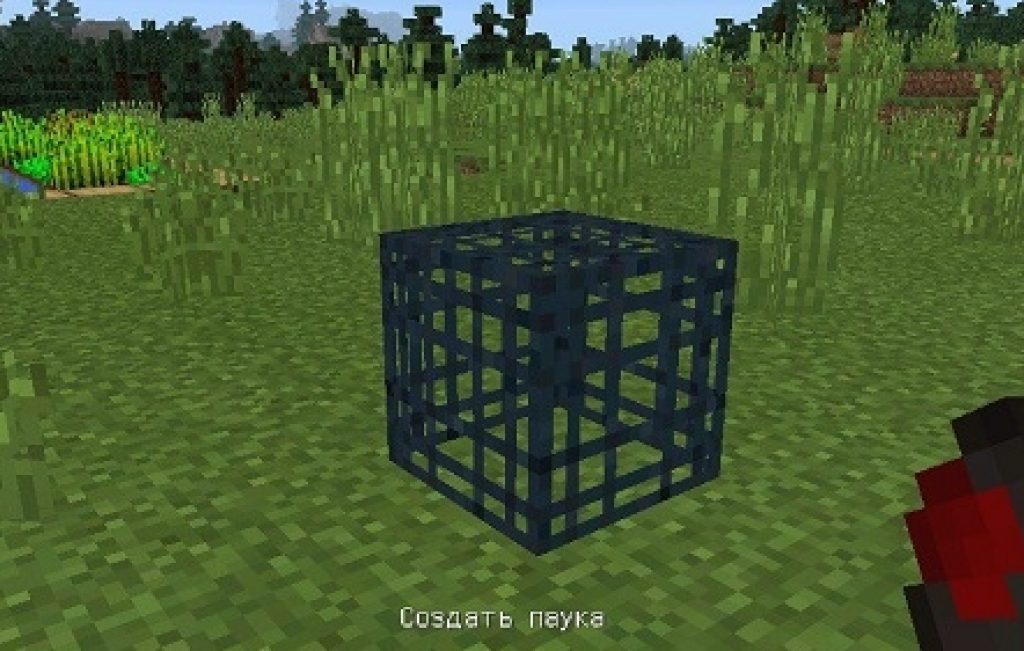
And, of course, enemies, a girl, a cage (it must be unbreakable so that it cannot be broken during a boss fight), a room and a key.
So, when finally (what a horror, I spent so much time in it!) the map will be created, it will need to be saved as a normal game world.
This can be done by clicking on Save or "Save As New World/ Map/ Game/ Level".
The map will be saved to the “saves” folder mentioned above.
There is a folder in the .minecraft game folder.
Now the card needs to be tested for performance and completely go through it yourself.
If there are imperfections, correct them in the same program. But don't worry, you won't have to do it again.
You just need to open it from the “saves” folder. After finishing, save again and test again.
They will come in very handy later on.
And now almost everything is ready! Now you just need to exit the game and go to the “saves” folder.
Having opened it, you need to create a new folder with the name of the map and copy the created map there.
After that, on the folder to which the map will be copied, you need to right-click and select "Add folder name to archive".
After pressing the program (in this case WinRar) will start archiving (i.e. packing into one file) the folder with the map itself.


The mini-map allows allies to coordinate their actions, as well as receive up-to-date information about opponents.
The size of the square on the mini-map dynamically changes depending on the size of the game map.
Allied tanks are marked in green, enemies - in red (lilac in the "color blind" mode). The vehicle marker on the mini-map corresponds to the accepted conventional signs:
For the convenience of interacting with allies, the player can draw their attention to a certain square of the map. To do this, hold down the key ctrl on the keyboard, left-click on the desired square on the mini-map. After that, the selected square will be highlighted along the contour, and a message will be displayed in the team chat: “Attention to square D7!”

In case of submission quick command(on the screenshot "Need help"), an indicator of the given command will be displayed above the vehicle.

Use the keys to zoom in/out the mini-map. Zoom in / Reduce size(default keys = /− ). The mini-map can also be hidden (using the M).
In Update 9.5, the functionality of the mini-map has been expanded.
Added:
- camera direction beam;
- firing sector (only for self-propelled guns);
- display of tank names;
- displaying the location of the last "light" of the tank.
How to enable these features


- Vision circle (green) - shows the value of your vehicle's vision, taking into account the skills and abilities of the crew, as well as the installed equipment.
- Maximum view (white) - shows the maximum view of vehicles in the game. Radius maximum view cannot exceed 445 meters.
- Drawing circle (yellow) - shows the maximum distance at which the ally and enemy vehicles will be displayed.
The tank's field of view displayed on the mini-map depends on any factors that affect the field of view (Coated optics or Stereo tube, the degree of crew proficiency in the main specialty and skills, equipment, crew shell shock, etc.) and dynamically changes during combat, depending on the circumstances. The circles of maximum view and rendering of vehicles are static, that is, they do not change.
Added the ability to disable the display of view and rendering circles in the game settings. To do this, on the "Game" tab, select the view indicators on the minimap that suit you.


")

Mods for minecraft 1.7 2 hike. The Camping mod tutorial. Video review on mod Picnic in nature
How to make cool things in minecraft
How to make a portal to the twilight forest in minecraft twilight forest 1
Minecraft 1.7 10 mods. The best minecraft mods
Rubik's snake puzzle - composition, how to make shapes